Box Dieline & Artwork Guideline
Need help with your box dieline and design? Just at the right place now!
File Formats
To ensure there is no loss in resolution and pixelation during printing, Yucheng accepts different vector-based file formats for submission.
-
- PDF(Portable Document Format)
- AI (Adobe Illustrator)
- SVG
- EPS
Alternatively, we could support you free artwork design services to help assist with any design work you may require. Please just make sure all text or logo elements are available.

Dieline Orientation
By following the dieline orientation guides below, ensure your images and texts face the correct way when your packaging is produced.
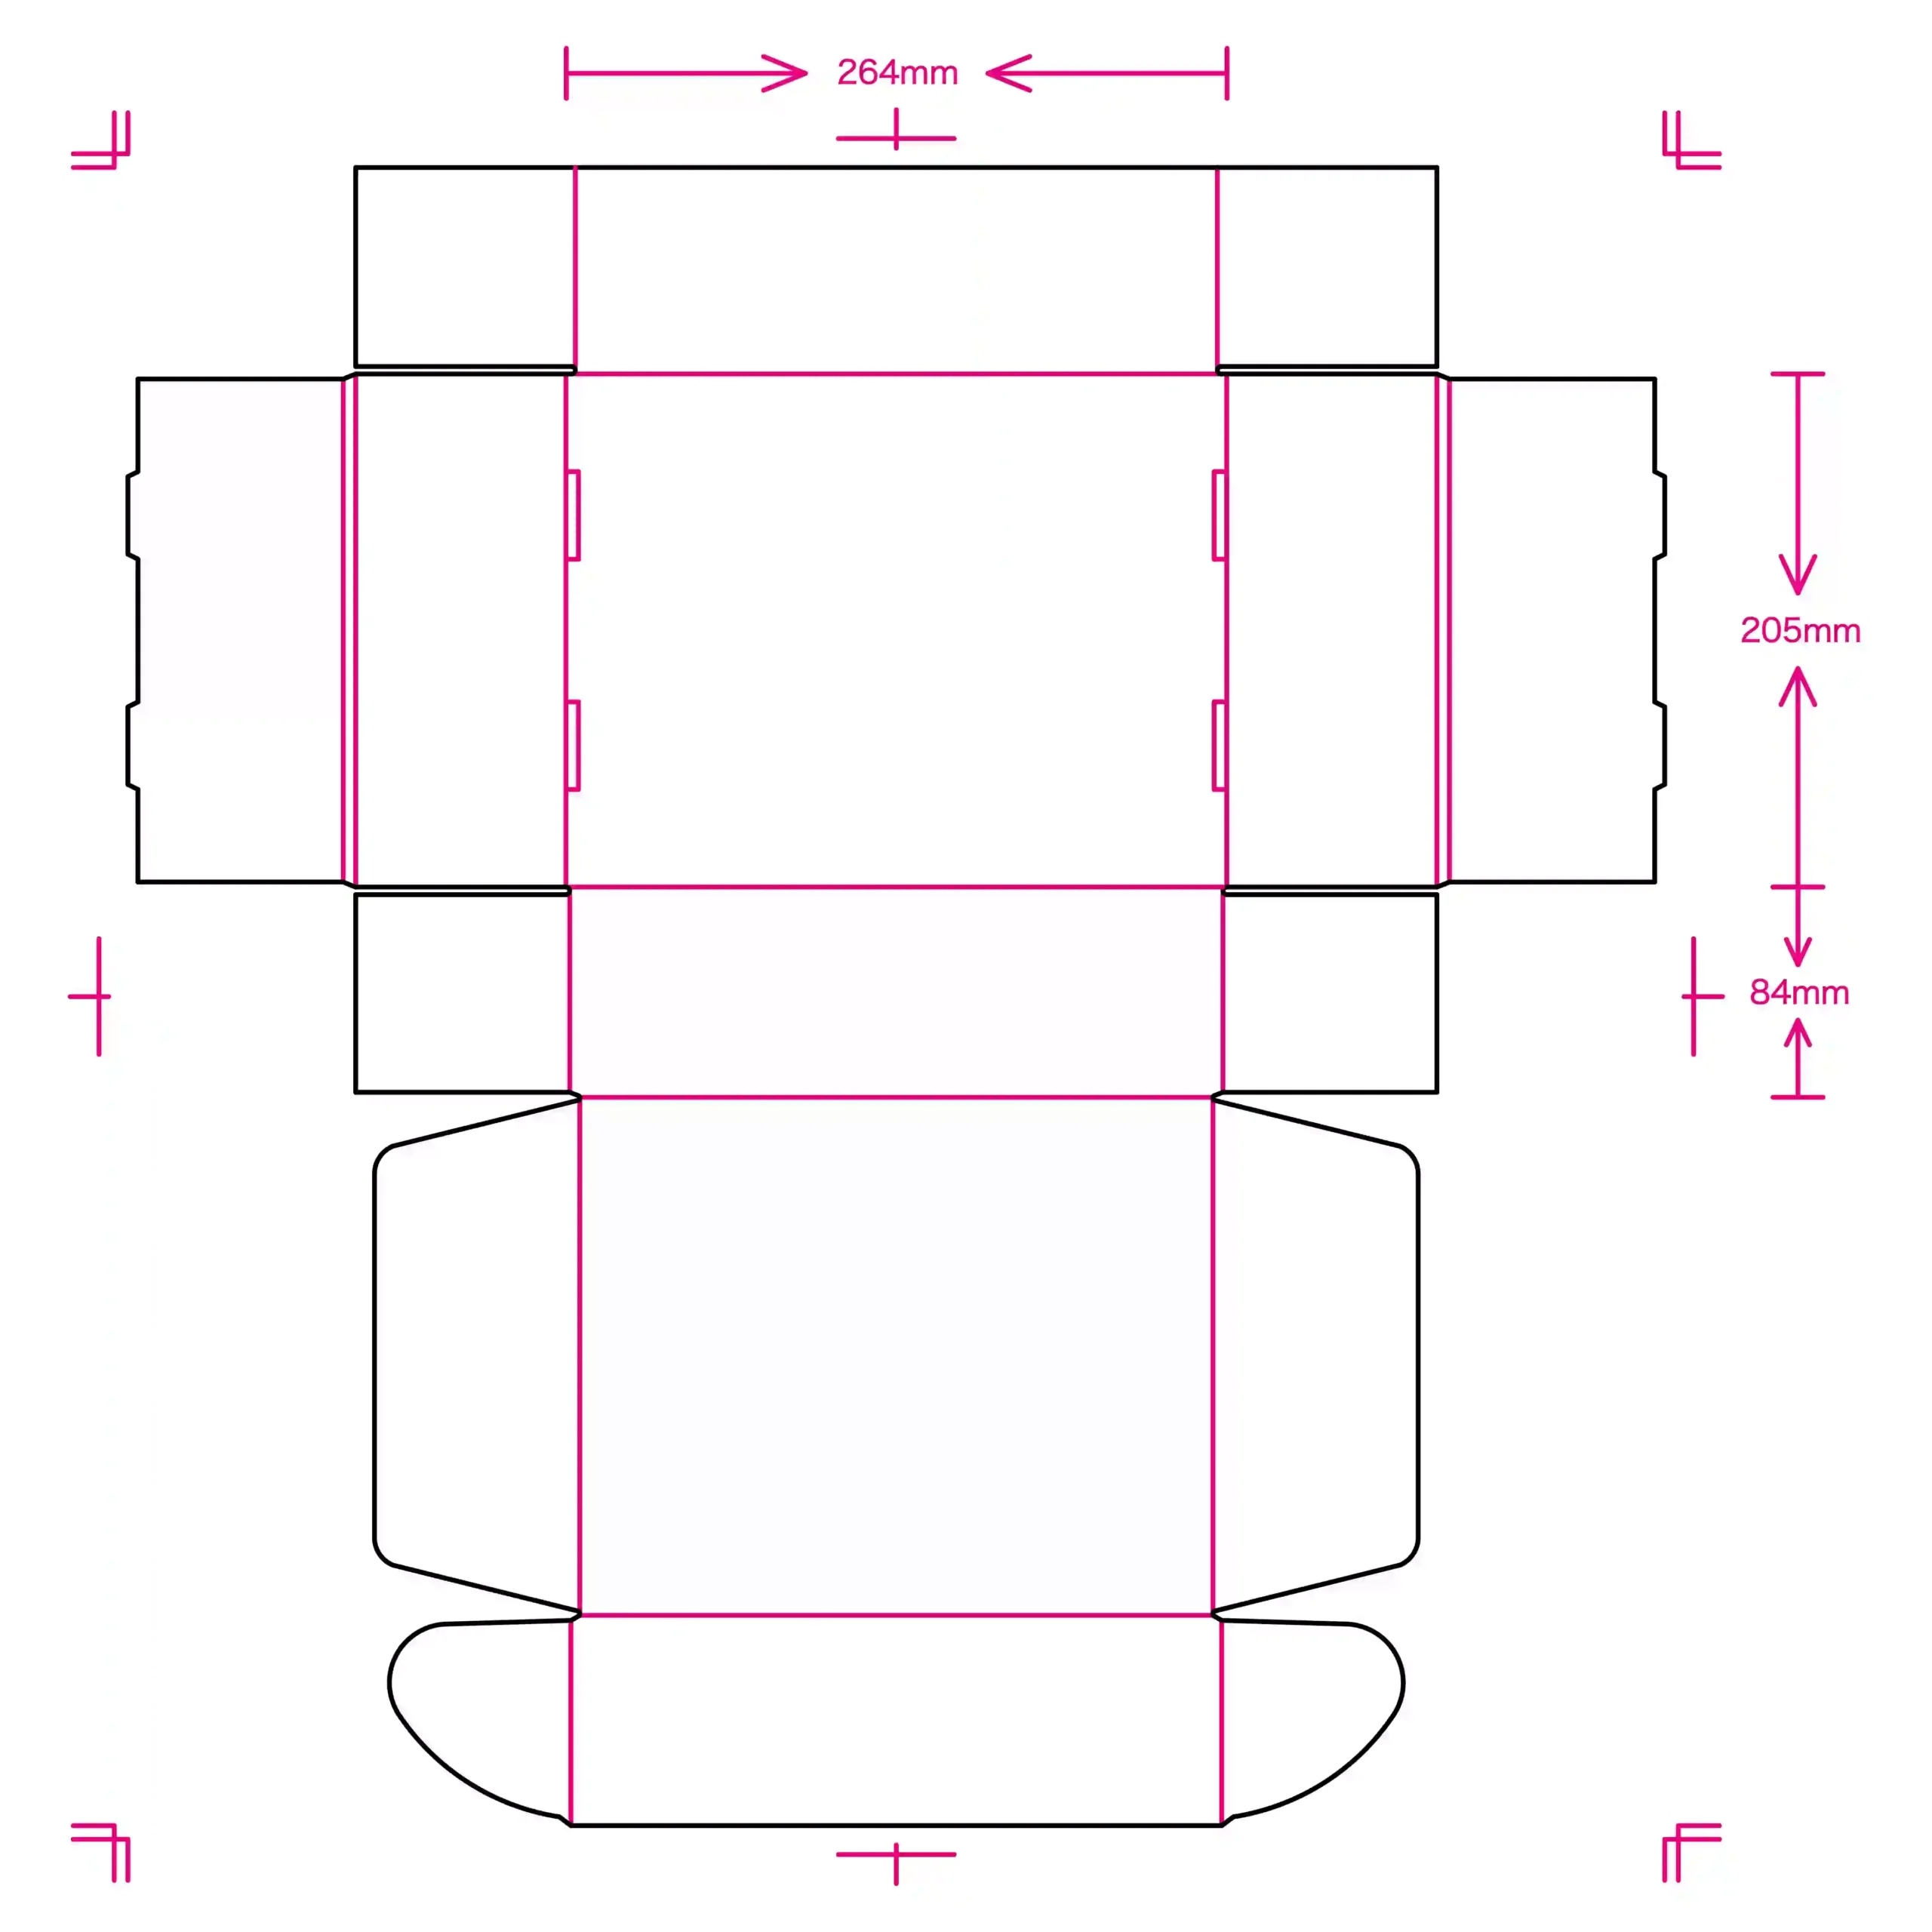
Get more accurate box dieline as per your required box size from us.
- Mailer Boxes Dieline Template
- Magnetic Rigid Boxes Dieline Template
- Folding Carton Boxes Dieline Template
- Gift Card Box Packaging Dieline Template
- Drawer Boxes Dieline Template
- Lid & Base Rigid Boxes Dieline Template
- Box Dividers Dieline Template
- Corrugated Boxes Dieline Template
- Handle Boxes Dieline Template
- Paper Bags Dieline Template
- Stickers & Labels Dieline Template
- Brochures Booklets Dieline Template
- Kraft Packaging Dieline Template
- Packaging Sleeves Dieline Template
- Thank you cards Envelopes Dieline Template

Design Guidance
1.Separate your Artwork from the Dieline.
Your artwork should be on a separate layer than the dieline template layer. Simply place your artwork/designs on the ‘Artwork’ layer, leaving the ‘Dieline’ layer as is. Do not delete the dieline layer as it is needed for showing the box structure and production (these fold lines won’t be printed).

2.Bleed — Safe distance from cut lines
Bleeds account for any slight movement in paper when it’s being printed or cut, and therefore helps minimize the likelihood of having any unprinted edges.
All graphics and text elements at the edges of fold lines need to ‘bleed’ over into the empty space of the dieline.
To make sure there are no unprinted edges in your packaging, please extend a safe distance (at least 3mm) beyond the fold lines or cut lines.

3.Color mode
When you setting up an AI document, go to ‘Document’ — ‘Document Color Mode’ –select ‘CMYK’.
CMYK is a more realistic representation of the colors that will be printed. Do not change the color mode midway. Since CMYK tones are much lighter than RGB tones, changing the format midway may result in the colors appearing in the wrong way.
PMS stands for Pantone Matching System, or simply called Pantone. They are pre-mixed colors and a great way to ensure higher consistency and accuracy when printing. For Pantone or spot colors, please let us know which the Pantone color code(s) you’ll be using.

4.Vector-edited Elements
Vectorize or outline all texts and graphics to ensure we don’t run into issues of missing font files or graphics for production.
Embed all images or photos in the document with at least 300dpi to get a higher resolution.

